 EN
EN
Spam and virus filter: How to set up the spam/virus filters
Step 2:

Step 3:
If you do not see the menu item “Spam and e-mail filter”, the spam and virus filter is not included in your plan. In this case, we recommend switching to one of our current tariffs, which all include the spam and virus filter.
For this you can find a tutorial here:
Tariff change: Change within the web hosting tariffs
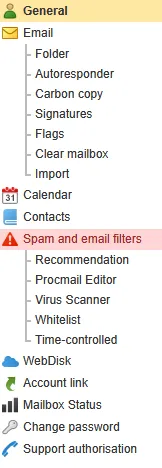
Step 4:
- Recommendation
- Procmail Editor
- Virus Scanner
- Whitelist
Select the respective option and make the desired settings. We recommend to use the default filters under the menu subitem "Recommendation", because it will reliably block the major part of the spam occurrence. When hovering with your mouse cursor over the blue question mark next to a filter, a description will appear which quickly explains the method how the filter works.
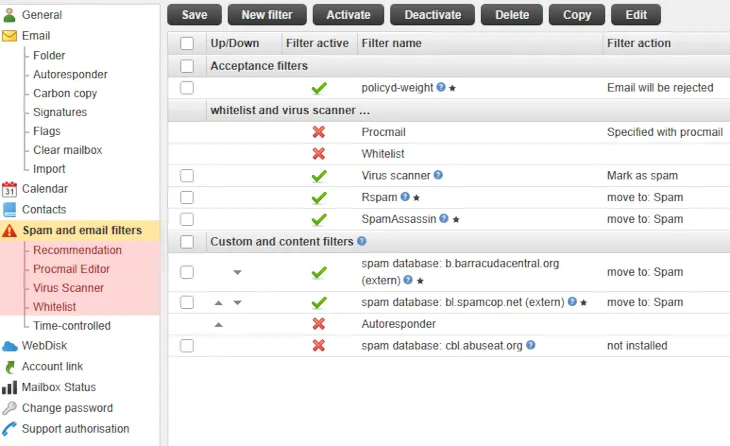
Step 5:
Your own filters can therefore not only be used to detect unwanted emails, but also for the automatic processing of emails in general.
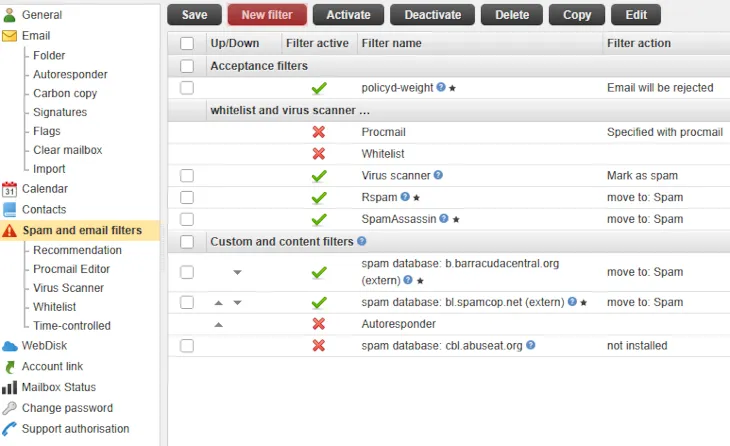
To do this, click on New filter in the top menu.
Step 6:
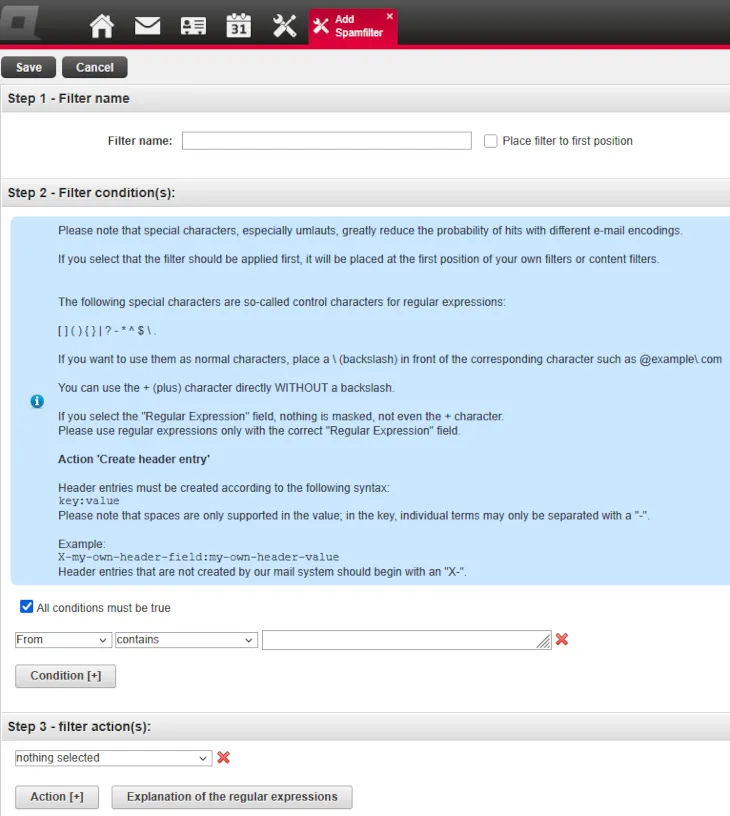
If you select the option Place filter to first position, this filter is placed at the top of your own filters or content filters and is therefore executed first.
Now select the desired condition(s) and the action(s). If you uncheck the option All conditions must be true, then the specified conditions no longer all have to apply together, but the filter also applies if only one individual condition applies to the email.
To finish, click Save at the top.
Search in support and FAQ