 EN
EN
SSL Certificate: How to install a self-signed SSL certificate
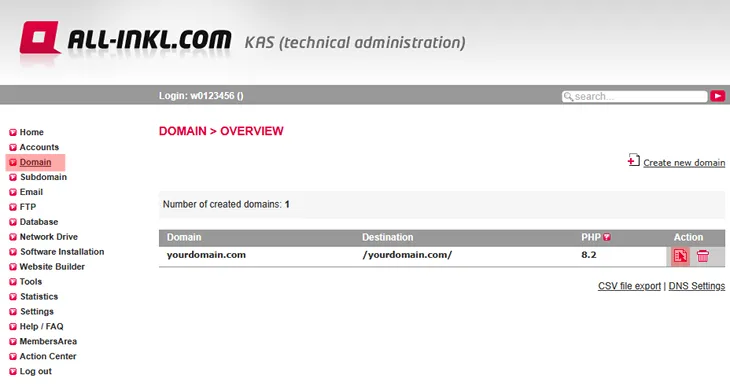
Step 1:
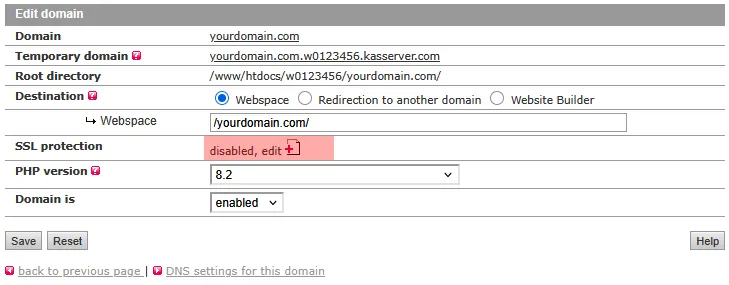
Step 2:
Step 3:
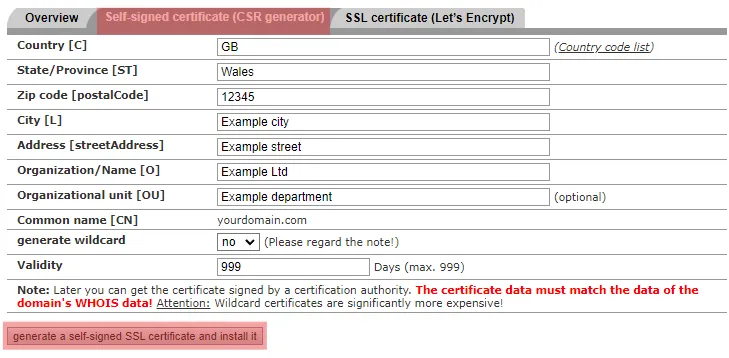
The data must be equal to the domain's owner data.
If the domain is registered with ALL‑INKL.COM the data is identical with the data of the contract owner inside the Members Area.
Afterwards, click the generate a self-signed SSL certificate and install it button.
Step 4:
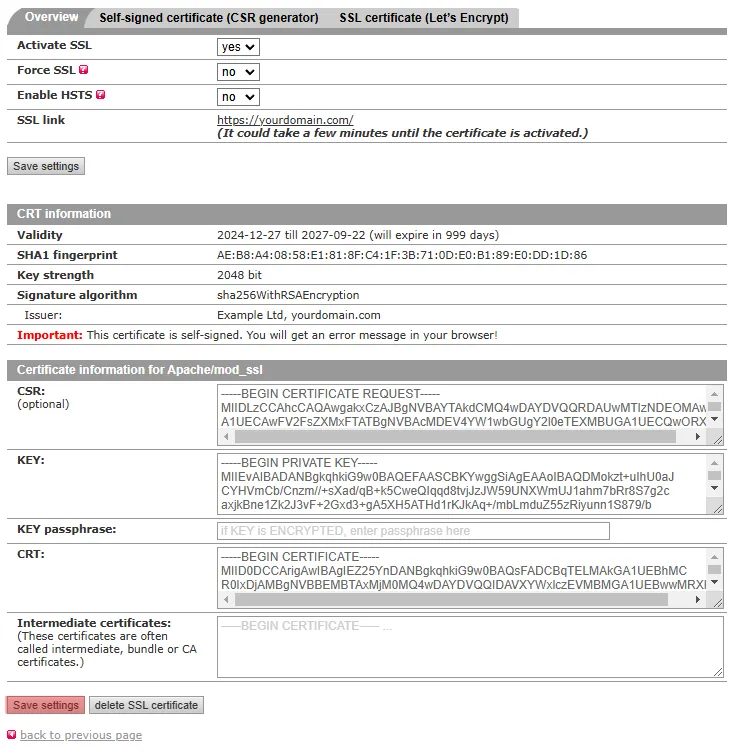
The certificate will now be processed. You will then be able to access the domain via HTTPS within approx. 10 minutes.
Step 5:
Since it's a self-signed certificate which has not been issued by an official certificate authority, you will get a warning message when you call up the website in your browser. However, you can add an exception rule to your browser and it will not show up the warning messages anymore. Therefore, the certificate is only suitable for private purposes and not for offical websites or online shops.But you can also get the certificate issued by a certificate authority in order to avoid those warning messages. You can send us your order via the support form inside your Members Area under the menu item "Support"
In the email, please state the domain for which the certificate should be issued and explicitely confirm that you agree with the costs incurred. The costs listed in the following price list apply:
Upcharges
Search in support and FAQ